The Complete Guide to Reading Water Conditions Before You Get In
Quick Answer: Assess from shore for a full ten minutes before touching the water. Count wave sets and time them, look for the gaps in the breaking line that indicate rip currents, watch floating debris to read the along-shore drift, check your exit point at both current and future tide, and see whether the water clarity actually supports snorkelling today. Conditions that look calm from a car park frequently are not, and the ten minutes costs you nothing.
Almost every unpleasant snorkelling story starts with someone getting in without watching first.
This blog has covered snorkelling from shore versus from a boat, late-season snorkelling when the water is warm but the air is not, and snorkelling alone safely. This is the assessment that should precede all of them.

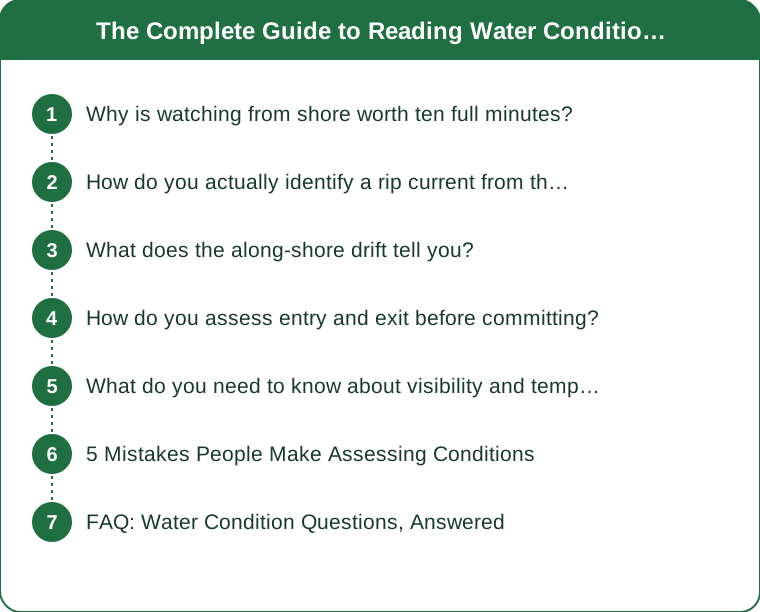
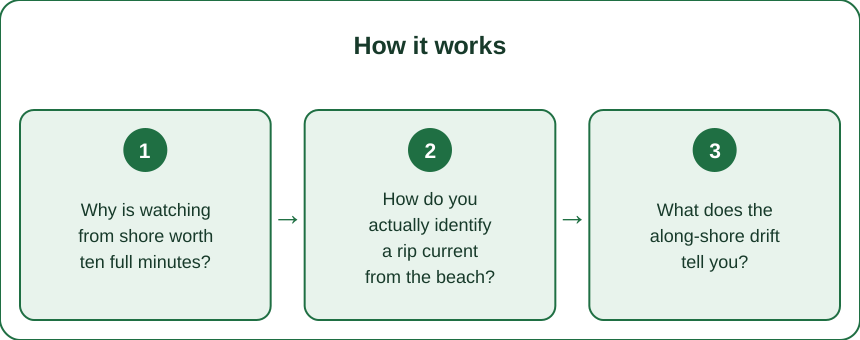
Why is watching from shore worth ten full minutes?
Because the ocean’s patterns run on cycles longer than a glance, and almost every meaningful hazard reveals itself within ten minutes.
Wave sets typically arrive in groups with lulls in between, and the cycle commonly runs somewhere between 5 and 15 minutes. If you look for 30 seconds during a lull, you see a completely different ocean from the one you will be swimming in.
The largest wave in a session is often substantially larger than the average. A beach that looks like knee-high sets can produce something well over waist height within a ten-minute window, and that is the wave that will catch you at the entry point.
Rip currents are visible but only if you watch a stretch of water over time. A single glance shows you texture; ten minutes shows you that one section consistently looks different from the rest.
Tide is moving the entire time you are there. A rock shelf that is a comfortable exit at the moment you arrive can be a breaking hazard 90 minutes later, and the only way to know is to have checked the tide direction before entering.
Wind shifts through the day in predictable ways in many coastal areas, typically building onshore through the afternoon. Morning conditions are not an indication of afternoon conditions.
And ten minutes gives your own judgement time to settle. The pressure to get in — because you drove here, because others are already swimming, because the day is short — is the single most common reason people override an assessment they had already correctly made.
The cost is genuinely trivial. Ten minutes out of a two-hour session is under ten percent of the time and eliminates most of the meaningful risk.
How do you actually identify a rip current from the beach?
By looking for the absence of things rather than the presence of them, which is why they are so often missed.
Look for a gap in the line of breaking waves. Water flowing seaward flattens incoming waves, so a rip frequently appears as a calm channel between areas of white water. That calm patch is the hazard, not the safe route, and this is the single most dangerous misreading in coastal swimming.
Look for a discoloured plume extending seaward. Rips carry sand and sediment out, producing a brown, murky or streaked channel visibly different from the water on either side.
Look for choppy, disturbed texture in an otherwise even surface. Outflowing water meeting incoming swell creates a distinctly agitated patch.
Watch floating material — foam, weed, debris. If it consistently moves seaward in one location while moving shoreward elsewhere, you have found the channel.
Elevation transforms your ability to see all of this. From water level, everything looks the same; from a dune, a sea wall, or twenty steps up a path, the pattern is often unmistakable. Always assess from the highest reasonable point.
Polarised sunglasses genuinely help, because they cut surface glare and reveal the colour and texture differences underneath.
Rips also form reliably near structures — jetties, groynes, piers, and rocky headlands — because water pushed onshore needs a return path and structures create one.
And rips are not fixed. A channel can move along the beach over hours as sandbars shift, so the assessment you did last week does not transfer to today.
What does the along-shore drift tell you?
Where you will end up, which is a different question from whether you can swim.
Almost every beach has a current running parallel to the shore, driven by waves arriving at an angle. It is usually gentler than a rip and vastly more consequential for snorkellers because you are looking down and not tracking your position.
Test it by watching floating foam or weed for two minutes. Note a landmark, watch where the debris goes, and estimate the speed. Anything that moves a body length in under ten seconds is a current you must plan around.
Then plan to swim into it first. Start your session heading against the drift so the return leg is with it, when you are more tired. This single habit prevents the most common shore-snorkelling problem, which is drifting several hundred metres downcurrent and having to walk back or fight your way home.
Pick two fixed landmarks on land before you enter, ideally at different distances so they shift relative to each other as you move. Looking up every few minutes to check them takes three seconds.
Understand that snorkelling amplifies drift. Face down, absorbed, moving slowly, you can travel a very long way without noticing, which is exactly why snorkellers are over-represented in unexpected-position incidents relative to swimmers.
Consider where the drift ends. Drifting toward open water, a headland, or a boat channel is a fundamentally different situation from drifting along an uninterrupted sandy beach.
And if the drift is strong enough that you cannot hold position by swimming gently, do not get in. That is a clear, non-negotiable threshold and it is easy to test in waist-deep water before committing.

How do you assess entry and exit before committing?
By choosing the exit first, which reverses how most people think about it.
Identify your exit before you identify your entry. Getting in is easy in almost all conditions; getting out is where people get injured, and it is the only part of the plan that must work when you are tired.
Prefer sand over rock for both, even at the cost of a longer walk. A sandy exit is forgiving of poor timing; a rock shelf is not, and a slip on a barnacled shelf in surge is one of the most common serious snorkelling injuries.
Watch waves interact with your intended exit for several full sets. A shelf that is dry between waves and washed by surge on the sets is a much more difficult exit than it appears during a lull.
Time the surge if you must use rock. Move on the back of a wave, not the front, and never turn your back on the water while climbing out.
Check the tide direction and how far it will move. A rising tide can make your exit impossible; a falling one can leave a drop and expose sharp growth. Know which one you are in before you enter.
Establish a second exit option a comfortable distance along the shore in case conditions or your position change. Having only one way out is a plan with no margin.
Note the walk back too. Barefoot across hot sand, a rock scramble, or a steep path is materially harder in fins, cold and tired than it looked on the way in.
And be willing to abandon the plan. The decision to not get in is enormously easier from dry land than from the water, which is precisely why the assessment belongs on the shore.
What do you need to know about visibility and temperature?
Whether the day supports the activity at all, which is a separate question from whether it is safe.
Snorkelling below about two metres of visibility is generally not worth doing. You cannot see anything of interest and you cannot see hazards or judge depth, which is the worst combination.
Visibility is worst after rain and after any period of strong onshore wind. Runoff carries sediment and wind stirs the bottom, and both take one to three days to settle.
Judge it by looking down from a jetty, rocks, or the shallows, not from a distance. Water almost always looks clearer from the shore than it is once your face is in it.
Late-season water is warm but the air is not, and that combination is the classic late-summer trap. You get in comfortably, get out into a cold breeze, and lose heat far faster than you expected.
Wind chill on wet skin is the dominant factor in getting cold, not water temperature. A rash guard on the walk back and a dry towel and top waiting at your exit point make more difference than a thicker wetsuit.
Cold shortens your safe session dramatically without feeling like it does. Shivering, clumsy fingers, and slowed thinking arrive before you consciously feel too cold, and all three degrade your ability to exit safely.
Set a time limit before you get in and stick to it. Judgement about how long to stay is one of the first things cold degrades, so the decision must be made warm and on land.
5 Mistakes People Make Assessing Conditions
All five come from substituting somebody else’s judgement for your own observation.
Mistake one: trusting that other people in the water means it is fine. They may be more experienced, better equipped, less far out, or simply getting away with it. Their presence is not information about your safety.
Mistake two: trusting a forecast over the water in front of you. Forecasts are regional and hours old; local topography, tide state, and wind angle change conditions enormously over a few hundred metres of coast. The water is the authority.
Mistake three: mistaking the calm patch for the safe patch. The flat, inviting channel between breaking waves is very often the rip. This misreading causes a substantial share of coastal rescues.
Mistake four: assessing from water level or from the car park. Both hide the pattern. Twenty steps of elevation and polarised sunglasses transform what you can see, and cost nothing.
Mistake five: getting in because of sunk cost. The drive, the parking, the packed bag and the short weather window all push toward getting in regardless of what you observed. Deciding in advance that a no-swim day is an acceptable outcome is the only reliable defence.
The sixth, and the most common of all: skipping the assessment on a familiar beach. Sandbars move, rips relocate, and tide state differs from your last visit. Familiarity tells you where to look, not what you will find.
FAQ: Water Condition Questions, Answered
How can I tell if there is a rip current?
Look for a gap in the line of breaking waves, a sediment plume extending seaward, or a patch of choppy water in an otherwise even surface. Watch floating debris for a minute or two — if it consistently moves seaward in one place, that is the channel. Assess from elevated ground with polarised sunglasses.
How long should I watch the water before snorkelling?
A full ten minutes. Wave sets cycle over roughly 5 to 15 minutes, so a shorter look can easily land entirely within a lull and show you a completely different ocean from the one you will be in.
What visibility do I need for snorkelling to be worthwhile?
Generally at least two metres. Below that you cannot see marine life or judge depth and hazards. Visibility is typically poor for one to three days after heavy rain or sustained onshore wind.
This is general information, not a substitute for local knowledge or lifeguard advice. When in doubt, ask locally and do not get in.
TL;DR:
- Watch for a full ten minutes from the highest reasonable point. Wave sets cycle over 5 to 15 minutes, so a glance shows you the wrong ocean.
- The calm gap between breaking waves is usually the rip, not the safe route. Look for sediment plumes and seaward-moving debris.
- Choose your exit before your entry, prefer sand over rock, and know whether the tide is rising or falling.
- Below two metres of visibility, do not bother. And in late season, the air and wind chill will get you long before the water does.
The ten minutes you spend watching is the cheapest safety equipment you will ever own.
Keep Reading
This article is for general informational and styling purposes only. Fit, sizing, and product availability may vary.